Monitors can be pretty boring and there are a lot of choices these days. At the budget end there is the really rather nice, and extremely bright Viltrox DC-A1 that I recently reviewed.
Another new monitor is the Accsoon M7 and it’s companion the M7 Pro. Now, these monitors are not boring and they are in fact really interesting.
Factory Calibrated.
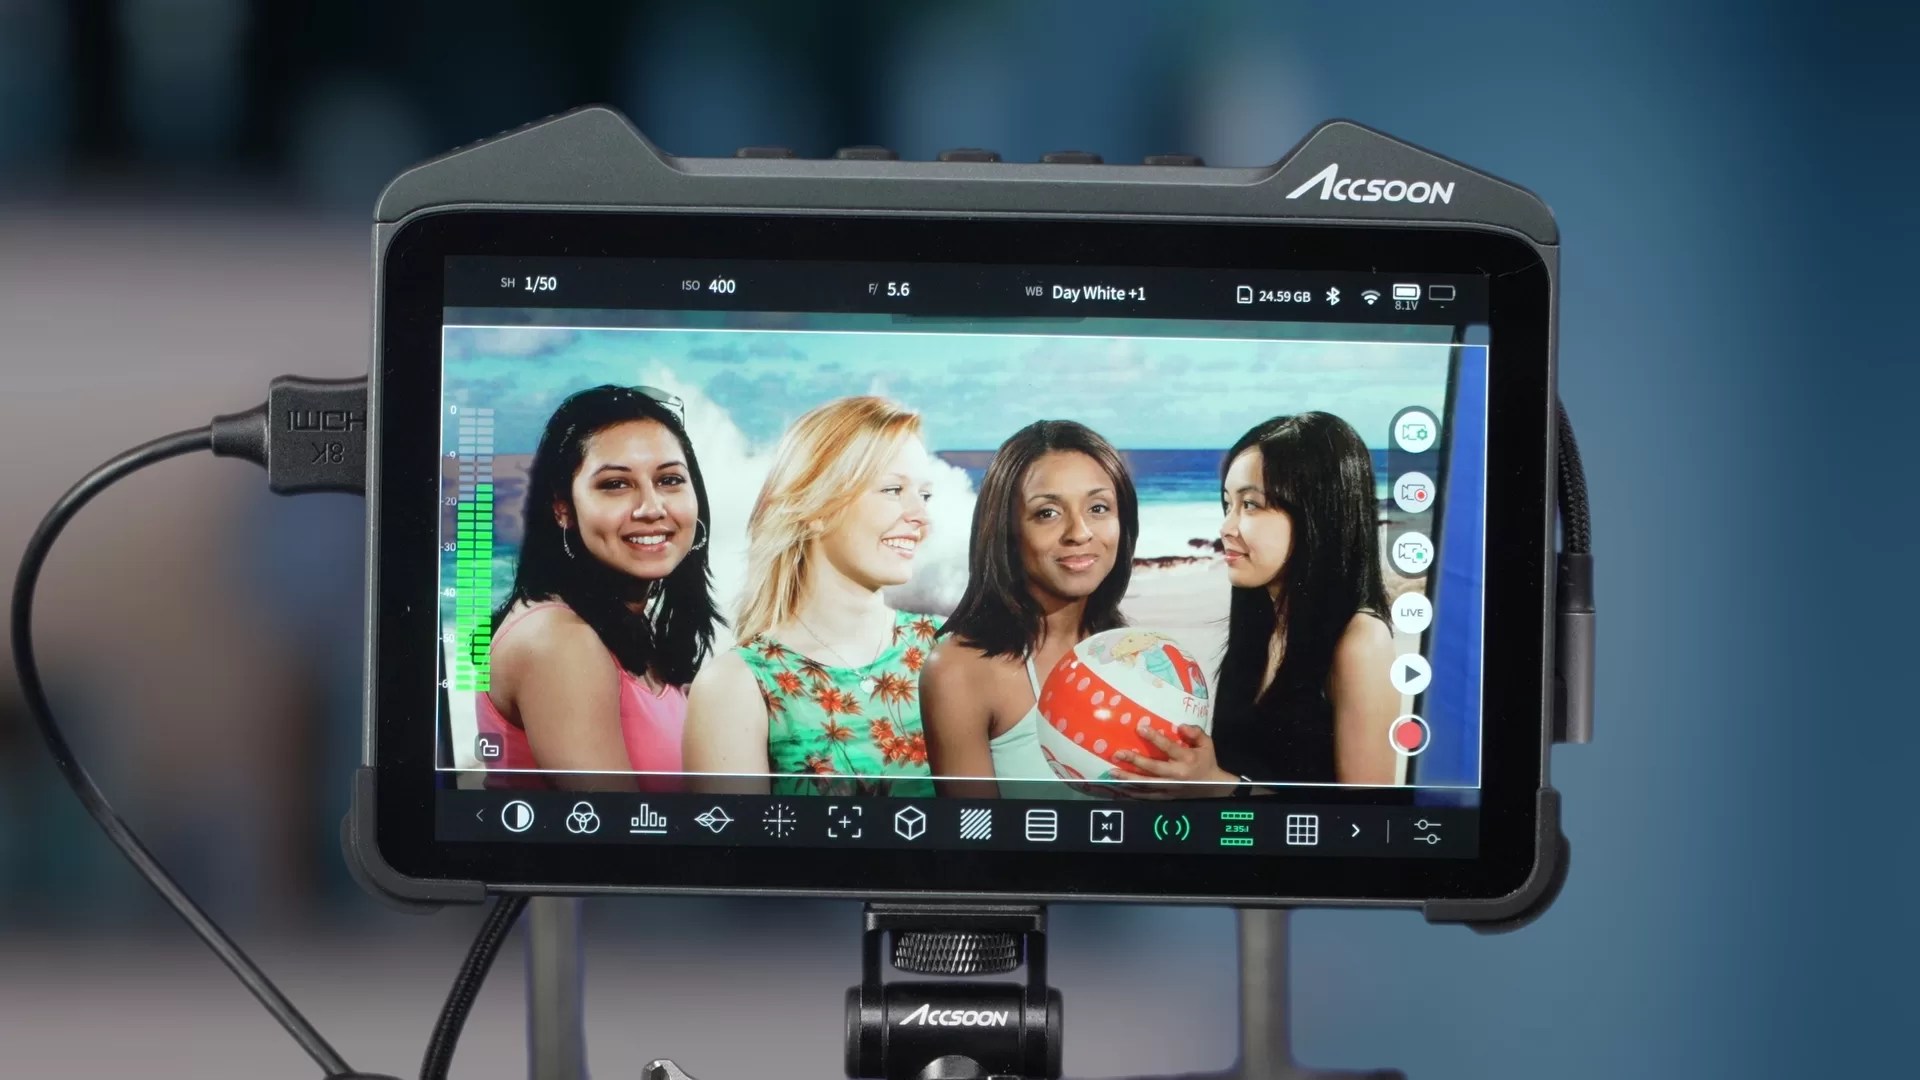
From the factory each monitor comes individually colour calibrated and the colour accuracy is indeed very good. They have both SDI and HDMI inputs and outputs. They have a multitude of way to power them including USB, NP-F batteries and a wide range DC input.
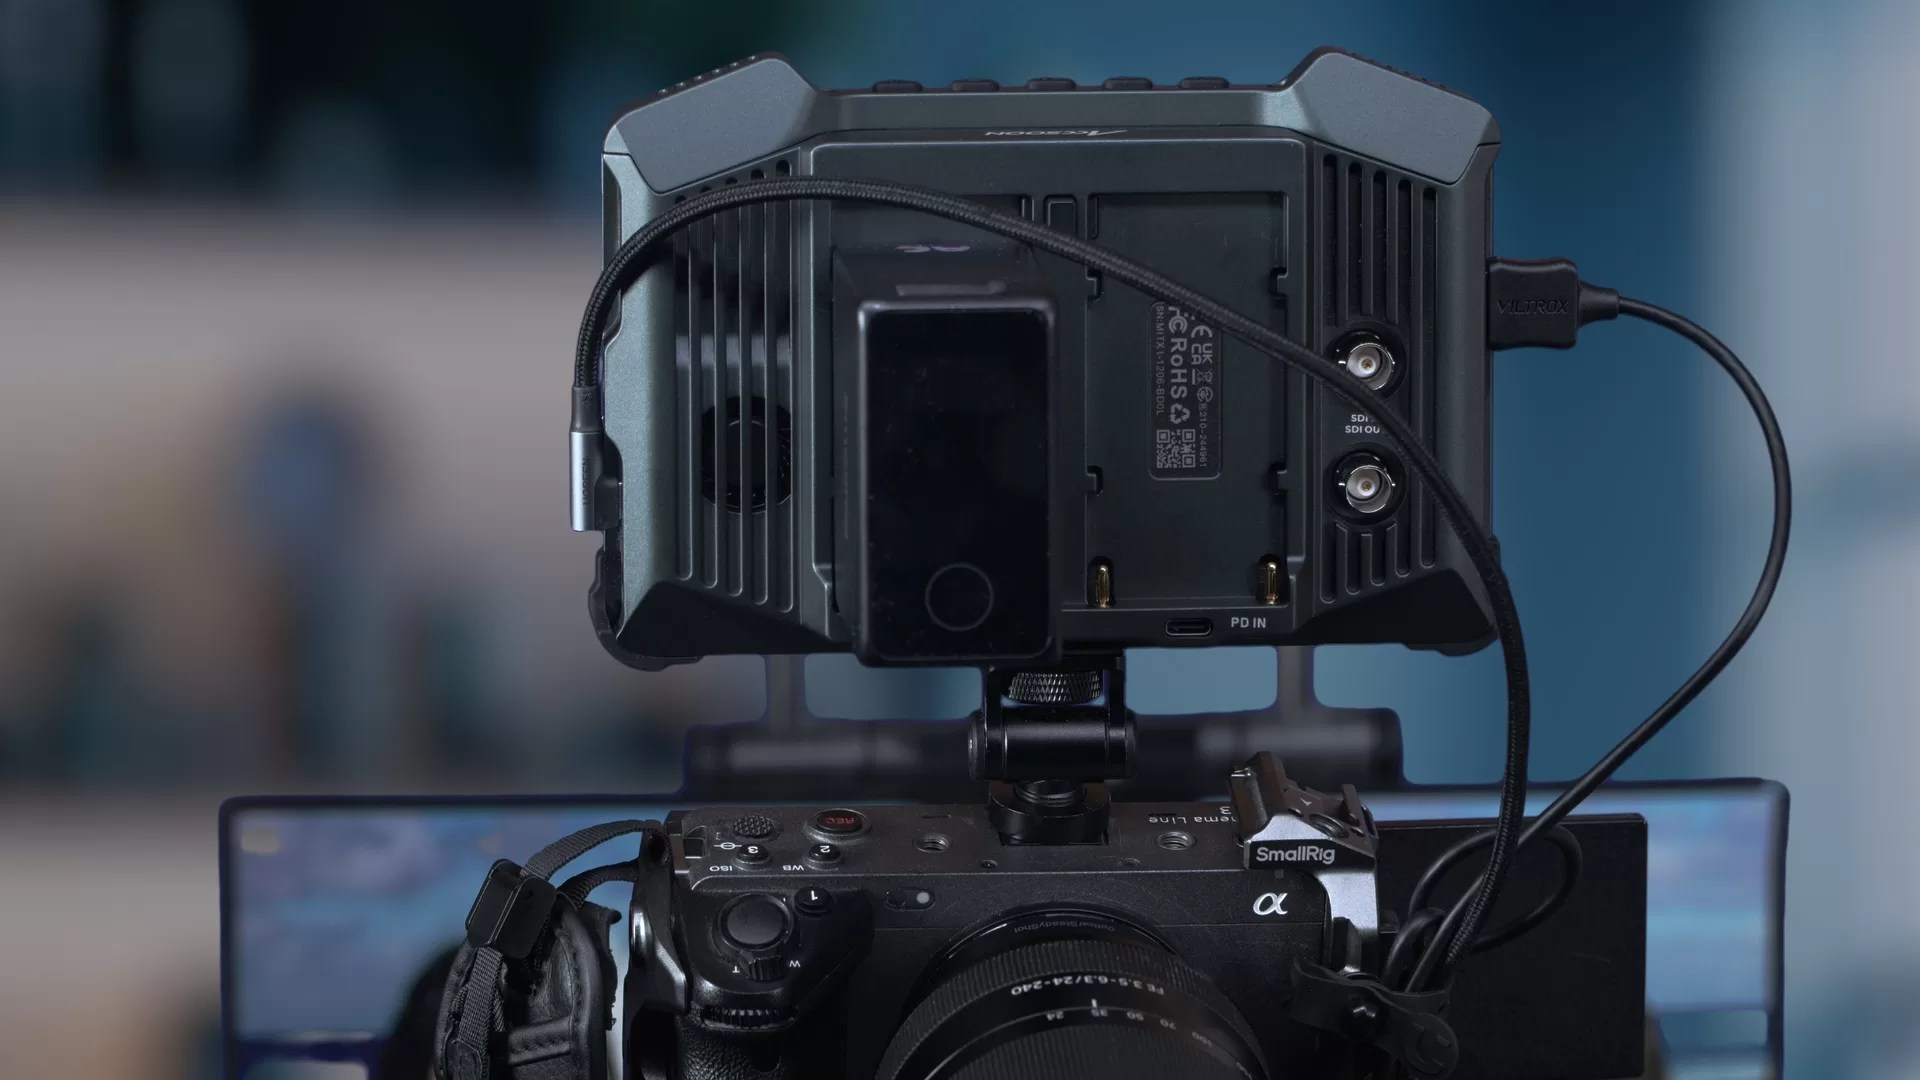
As well as a headphone socket there’s even an audio input for a microphone as the M7 monitors can record to their internal memory or an SD card. A nice touch is Bluetooth so you can use Bluetooth headphones if you wish – just consider that there is always a bit of an audio delay with Bluetooth.
Camera Control.
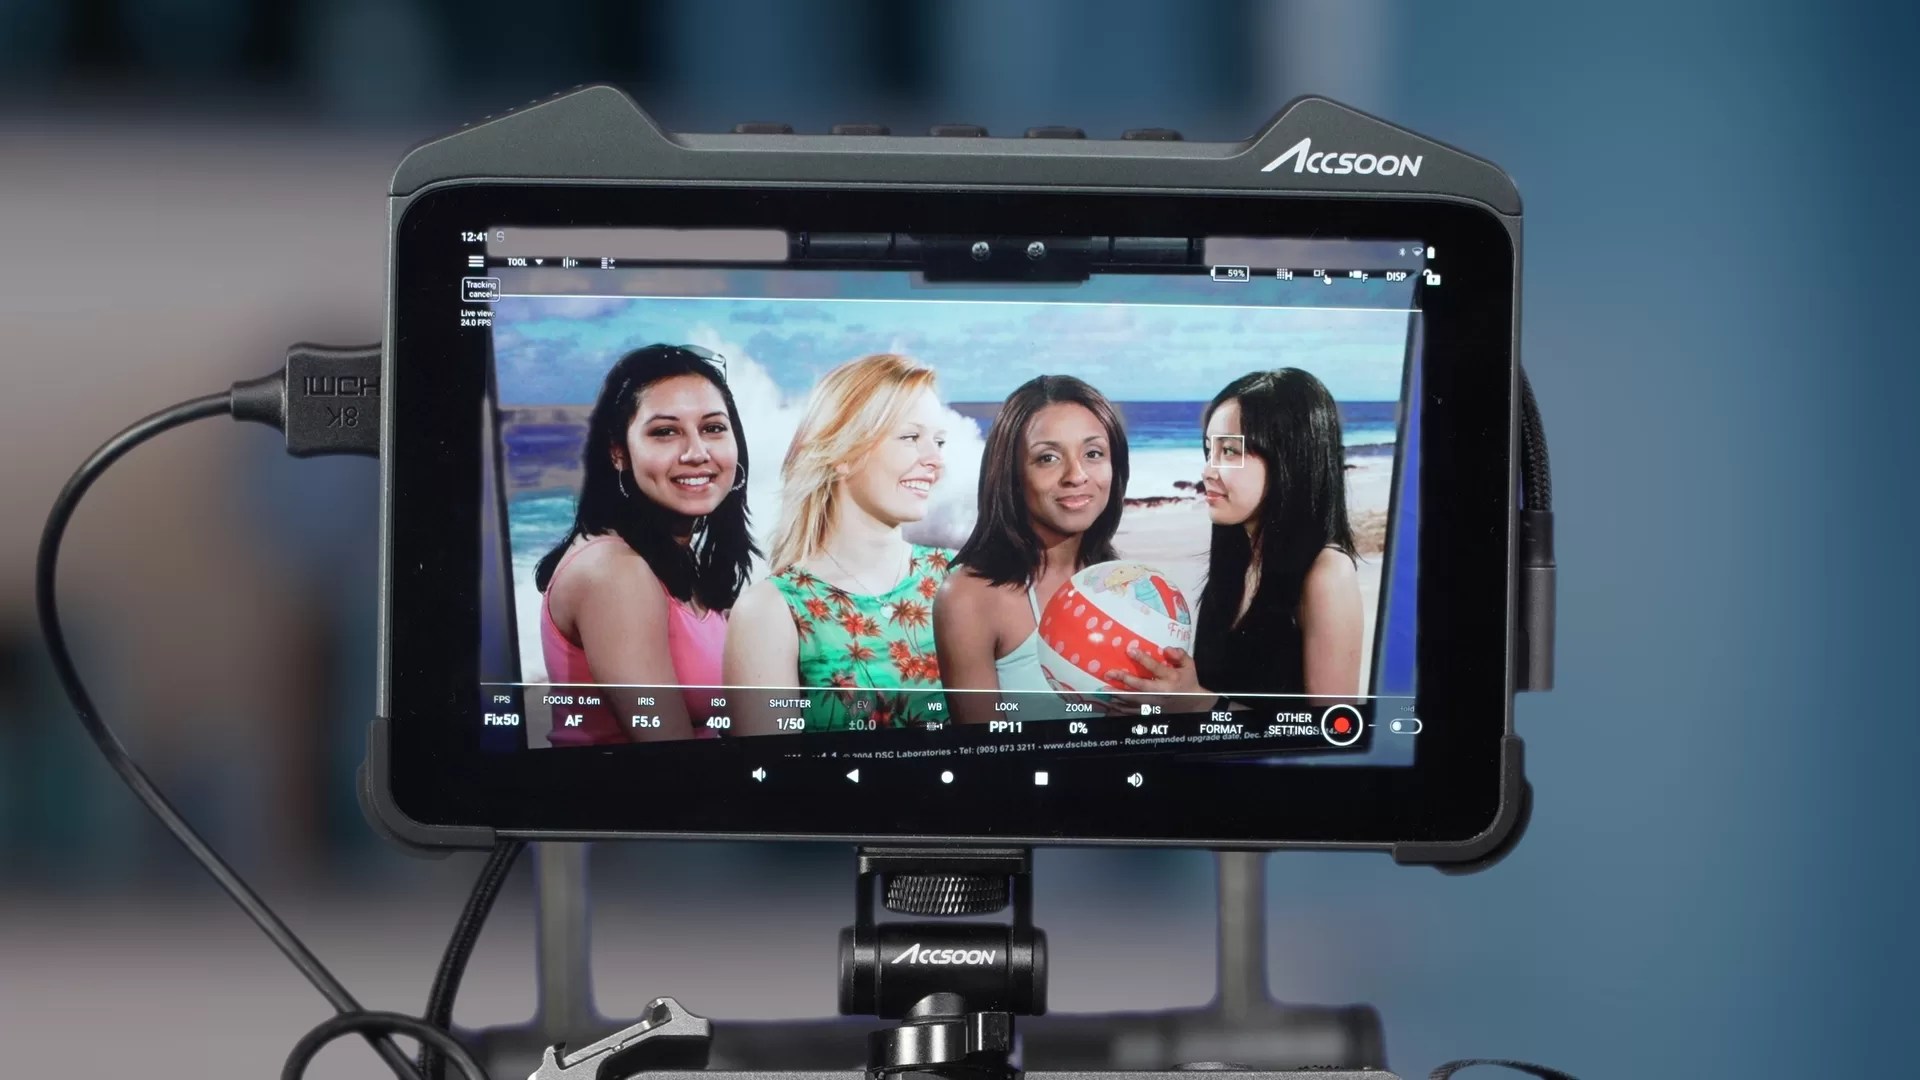
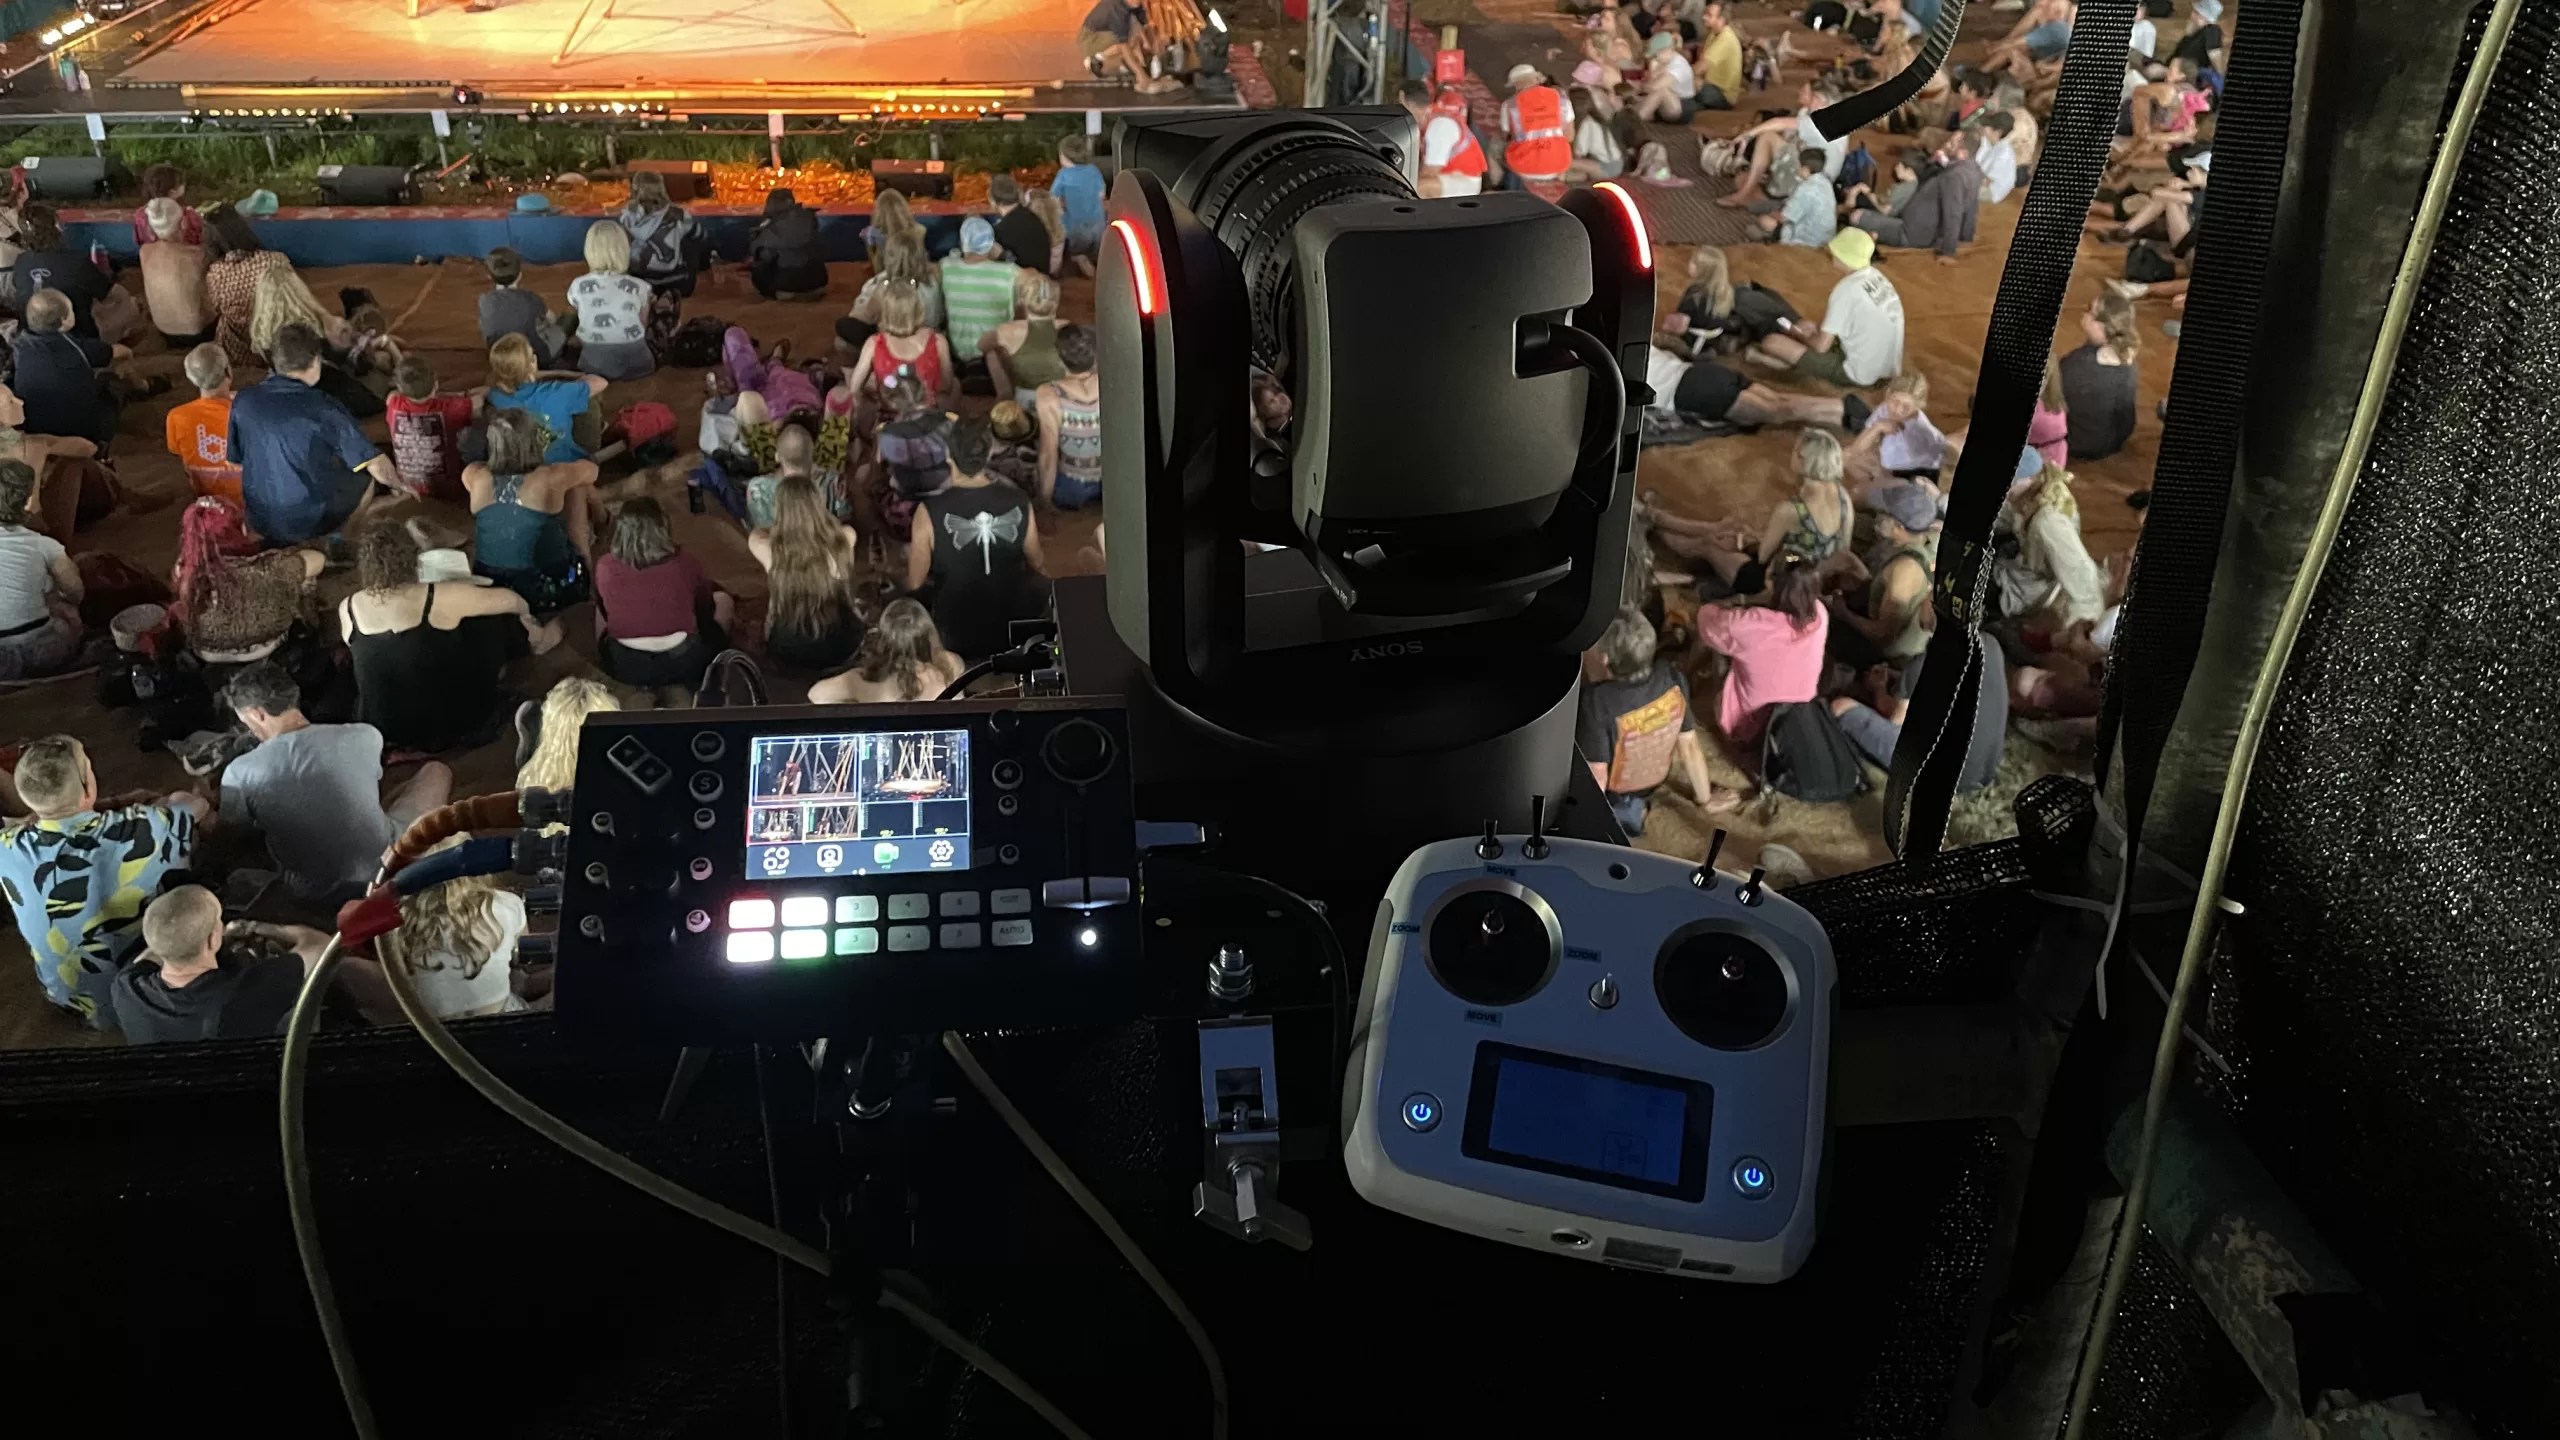
The M7 monitors can control a wide range of cameras from Sony over USB including the FX2/FX3/FX30 and many of the Alpha’s, this control includes touch to focus and focus tracking (cameras from other manufactures are to be added in the future). All of this stuff is really nice, but we have seen all of these things before. Accsoon have also told me that they are working on wireless camera control and this would then allow you to control the FX6, FX9 and Burano (and I suspect that when using wireless control of the FX30/FX2/FX3/Alpha’s you will be able to use the USB-C to power the cameras). I don’t think anyone else has a single monitor that can control such a wide range of cameras, and certainly not at this price point (M7 is approx £450/$550 at the time of writing). I’ve been using a Portkeys LH7P with a Sony A1 and the ability to control the focus from the monitor is a delight, but the LH7P can’t control an FX6 and doesn’t have the ability to connect to the A1 or an FX3 etc via USB.
Android Operating System
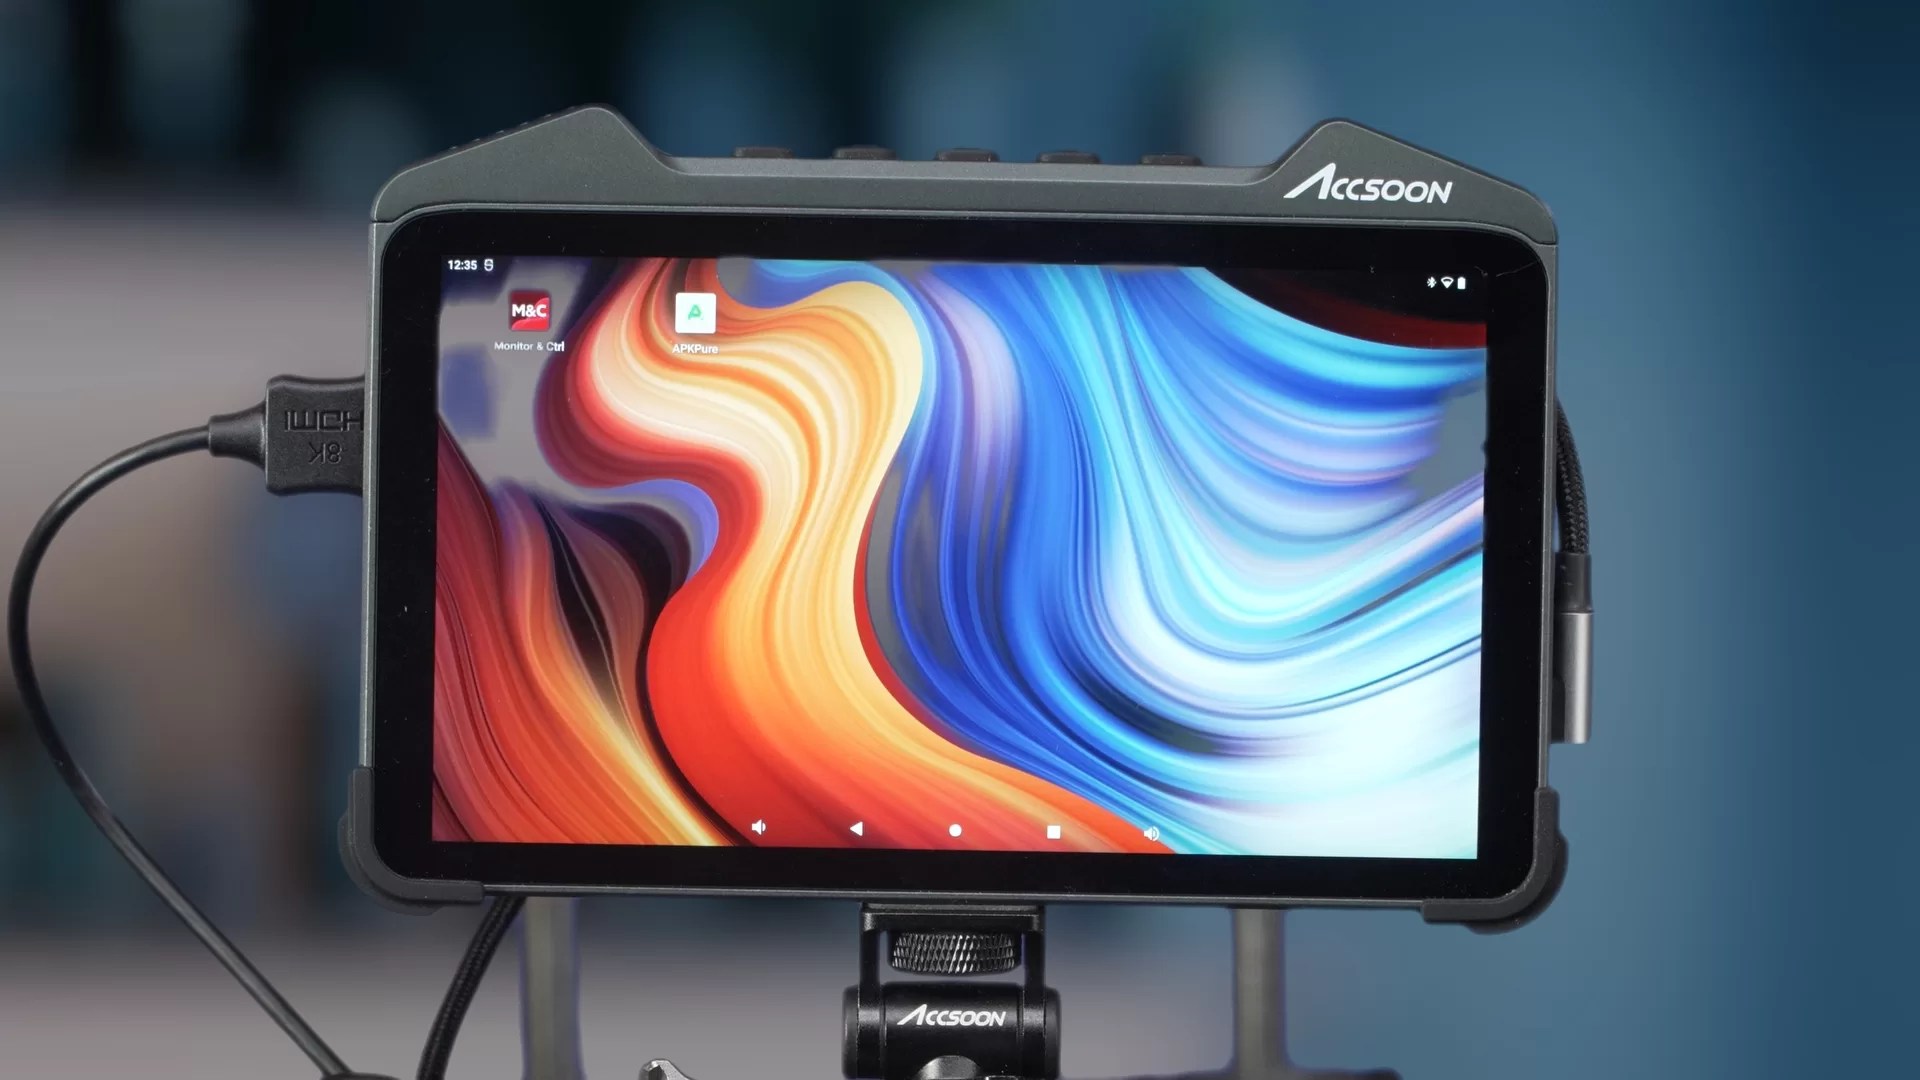
But where these monitors get really interesting is the operating system as they run on Android. In normal use you probably won’t even realise this as most of the time it behaves just like any other monitor. Turn it on and it starts up as a monitor. But you can leave the the built in monitoring app and then load additional Android apps onto the device. This opens up all sorts of possibilities such as using Sony’s Monitor and Control app to wirelessly monitor and control Sony cameras. You could load your favourite lighting controller app or your favourite the ftp or cloud app. As a professional, fully calibrated monitor you have HDMI and SDI in and out, plus the ability to run it continuously without overheating, to power it from NP-F batteries or a wide range of other methods – things that phones and tablet don’t have! I’m still exploring what you can do with the M7 but I really like it.
The M7 Pro has all the functionality of the M7 with the added benefit of a built in wireless video receiver that is compatible with Accsoon CineEye transmitters. In the future Accsoon will be releasing a firmware update that will also allow the M7 Pro to act as a wireless video transmitter). This makes it an excellent directors monitor. Both M7 models will apply any LUTs that you use or and de-squeeze to the HDMI or SDI outputs, so you can feed anamorphic S-Log3 to the monitor and it will output with desqueeze and your chosen look.
Recording and Streaming.
If you want a backup recording the M7 can record to it’s internal memory or an SD card using H264 or H265. Plus it can stream to any RTMP platform, such as YouTube or Facebook. And that’s all with the standard app, being an Android device you can add more functions by loading other apps.
Watch the video linked further up the page to find out more. These monitors are so much more than just monitors.


